How do I Manage Multiple Locations on Google My Business?

These days, being easy to find online is everything for local businesses. If people can’t find you quickly, they might skip right over you and go to a competitor who shows up first on Google Maps.
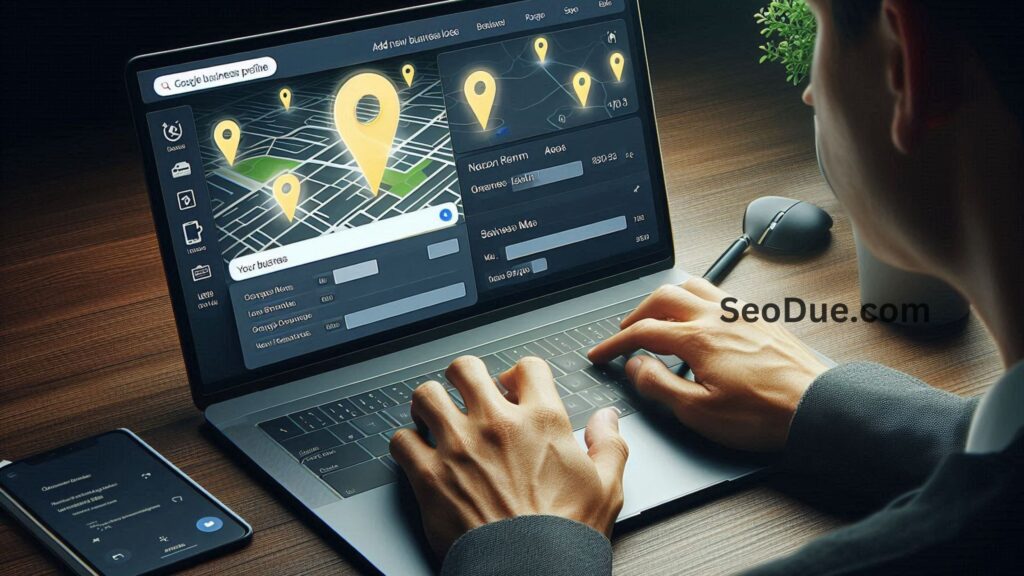
What used to be called Google My Business is now Google Business Profile, and it’s a must-have tool for managing how your business appears online, especially on Google Maps. Your Google Business Profile is like a digital storefront. It shows all the key details about your business when someone searches for services like yours. This includes your business name, address, phone number, website, hours, photos, reviews, FAQs, and even updates or posts you share.
Keeping your Google Business Profile up-to-date gives you a serious edge over competitors. Did you know that customers are 2.7 times more likely to trust a business with a complete profile? They’re also 70% more likely to visit and 50% more likely to make a purchase.
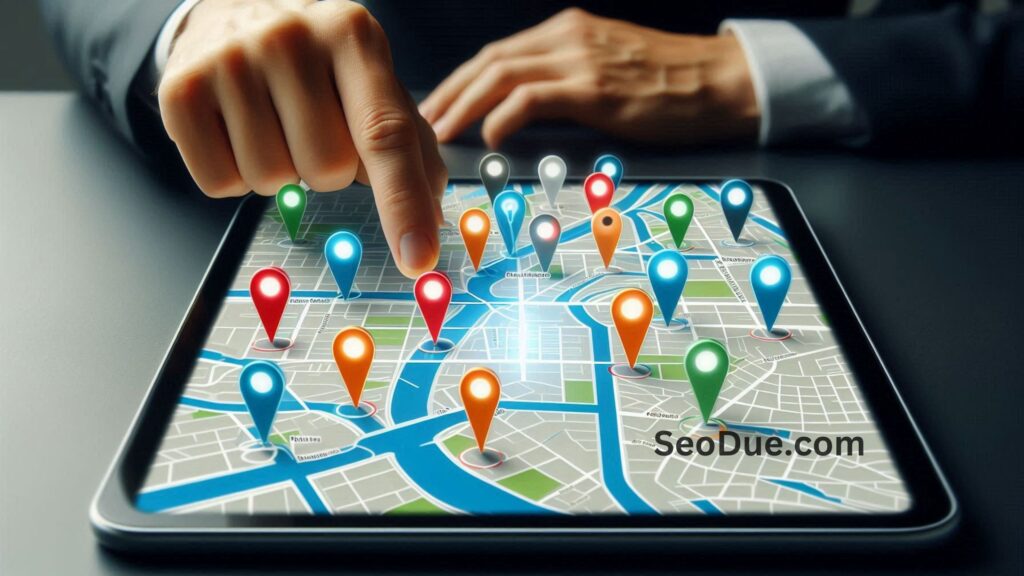
But what if you have more than one location? How can you keep everything consistent and ensure your business stands out in local searches? Adding multiple locations to Google Maps might sound tricky, but it’s essential. When all your locations are listed correctly, it boosts your visibility and ensures customers can quickly find accurate information about each location. This makes it easier for them to reach out—and keeps you from losing potential business.
Not sure where to start? Don’t worry—we’ve made it simple with a step-by-step guide on how to add your business to Google Maps. Let’s dive in!
How to Add Multiple Locations to Google Business Profile: 3 Steps
Adding multiple locations (or a new one) to your Google Business Profile is easier than you might think. Just take your time, double-check your steps, and you’ll have everything set up in no time. If your business is brand new, make sure to add it first before following these steps.
1. Create a Location Group
Also known as a business group, this step helps you manage multiple locations from one account. Here’s how:
- Log in to your Google Business Profile.
- In the top left corner of your Business Profile Manager, click on “Businesses.”
- Select “Create Group” and then “Add Locations.”
This creates a location group, making it easy to manage all your business locations from one spot.
Also Read: How do I Improve My Local SEO Ranking?
2. Add Multiple Locations
Now it’s time to add your locations:
- Click “Add Location” and select “Add Single Business” from the dropdown.
- Enter the details for each location, like name, address, phone number, website, photos, hours, and more.
- Click “Done.”
Repeat these steps for all your locations. Once added, you can manage everything from the “Locations” tab in your profile. If you’re adding 10 or more locations, choose the “Import Businesses” option to save time.
3. Optimize Your Listings
Now, let’s make sure your profiles stand out and rank higher in searches. The key is keeping your information accurate and updated so customers can find and trust your business. Here’s how to do it:
- Assign a Point Person: Have someone on your team regularly update and optimize your listings.
- Choose the Right Categories: Pick the most relevant categories to help Google understand your business.
- Use High-Quality Photos: Upload great pictures of your store, products, team, and anything else that makes a strong first impression.
- Keep Hours Accurate: Update business hours, especially for holidays or special occasions.
- Write a Clear Description: Include a short, compelling description that highlights what you offer and what makes you unique.
- Add Services and Products: Include details about what you offer to make your profile more relevant to searches.
- Utilize Attributes: Highlight unique features like being woman-led, pet-friendly, or offering free Wi-Fi.
- Post Regular Updates: Share updates, events, or promotions through Google Posts to keep your profile fresh.
- Enable Messaging: Let customers contact you directly if it fits your business model.
- GeoTag Photos: If possible, add location info to your photos to improve local visibility.
- Monitor Insights: Use the “Insights” tab to see how people find and interact with your business.
- Engage in Google Q&A: Answer questions in the Q&A section to provide helpful information.
Keeping your profiles optimized and up-to-date ensures your business gets noticed and leaves a great impression on potential customers. Ready to get started? Let’s do this!
Also Read: How do I Set Up My Google My Business Profile?
Keep Boosting Your Online Presence.
Keeping your Google Business Profile updated is a great way to boost your online presence and engage with both current and future customers. But there’s another game-changer: reviews.
Helping local businesses collect real, high-quality reviews is what we do best. Positive reviews build trust and credibility, while too few reviews—or ignored negative ones—can scare customers away. That’s why it’s crucial to manage your reviews and make them work for you.
So, how do you get reviews consistently and professionally? Just follow these steps:
1. Ask Happy Customers for Reviews
Don’t be shy about asking! Satisfied customers are usually happy to leave a review—they just need a little nudge. You can ask them in person, send an email, or share a direct link to your Google Business Profile.
The best way? Send a text. Start by asking how their experience was and if they’d feel comfortable leaving a review. Then follow up with a simple text that includes a link to your review page. Make it as easy as possible!
2. Make Leaving Reviews Effortless
Sometimes, people don’t leave reviews because it feels like a hassle. Make it super simple:
- Share a direct link to your Google Business Profile.
- Add that link to your website, emails, and even your text signature.
When there’s no guessing involved, customers are more likely to leave a review.
3. Use Signage at Your Store
If you have a physical location, put up signs encouraging customers to leave reviews. Let them know their feedback is valuable and helps keep your local business thriving.
4. Respond to Reviews and Take Action
Always reply to reviews—good or bad. Thank customers for their positive feedback, and address any concerns in negative reviews. This shows you care about their input and are serious about improving.
Also, don’t ignore what they’re saying. If someone points out a problem, like confusing paperwork or slow service, make changes to show you’re listening.
5. Share the Love
Show off your best reviews! Post them on your website, social media, or even in-store. Add testimonials and review snippets to your landing pages—it’s the ultimate social proof. People trust other customers, so let their words do the talking for you.
Also Read: How can I Earn Backlinks From Local Blogs?
6. Let Reviews Market for You
Use quotes from positive reviews in your brochures, flyers, ads, and other marketing materials. It’s an easy way to build credibility and make your brand shine.
7. Focus on Excellent Service (Not Incentives)
While you can’t offer rewards for reviews (Google’s rules say no), you can inspire customers to leave reviews simply by giving them a great experience. Let them know their feedback is appreciated, and let your service speak for itself.
Quality over quantity is the name of the game. Focus on delivering a fantastic customer experience, and the positive reviews will follow. Regularly check and engage with your reviews to build a strong, trustworthy online reputation.

Post Comment